Automating lead qualification and routing from your website.
Use form questions, CRM workflows, instant notifications and booking links to get each enquiry to the right person quickly.
When someone fills in an enquiry form, they are usually comparing options and are most receptive in the hours that follow. Yet in many businesses, that enquiry lands in a shared inbox, waits until someone has time to read it, gets forwarded to the right person, is typed into the CRM by hand and finally receives a reply asking when the prospect is free for a call. By then, they may have spoken to someone else.
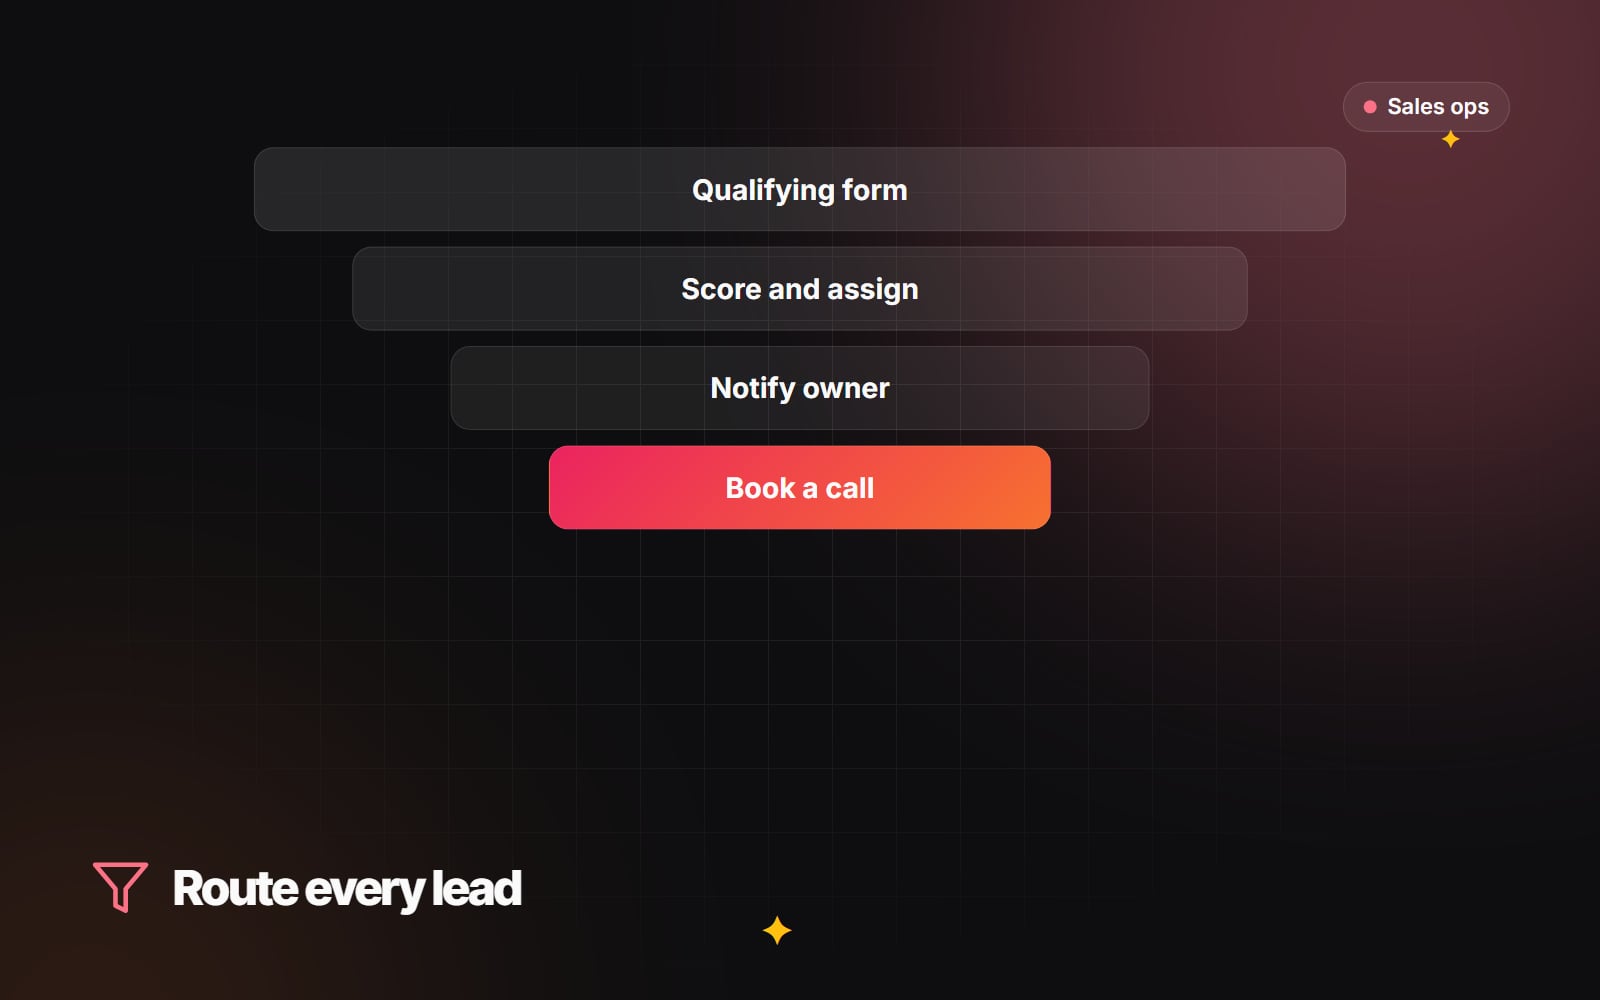
Automating qualification and routing removes most of that delay. The form gathers the right information, the CRM decides who should handle the lead, the right person is notified straight away, and a qualified prospect can book a call before they leave your site. This guide walks through how to set that up, using HubSpot as the main example, though the same ideas apply to most CRMs.
Step 1: Design the form to qualify
Qualification starts on the form. The aim is to collect just enough to route the enquiry well, without making the form so long that people give up. Our guide to form design that people finish covers the basics; for routing, focus on these:
- What they need. A dropdown of your main services lets you route a Shopify build to one person and a CRM project to another.
- Budget range. Offer a few broad bands that match how you price work. Include an option such as "Not sure yet" so people are not forced to guess.
- Timing. "When are you hoping to start?" separates urgent projects from early research.
- Company and role, if you sell to businesses.
Use conditional fields so follow-up questions only appear when they are relevant. In HubSpot forms, this is done with conditional logic (sometimes called dependent fields) in the form editor.
Be careful with blocking free email addresses. It can reduce spam and student enquiries, but many genuine small businesses use a personal email address. Making it a scoring signal rather than a hard block is usually safer.
Step 2: Score and route in the CRM
Once the form is submitted, the CRM should decide what kind of lead this is and who owns it. In HubSpot, this is done with workflows.
- 1 Go to Automation and then Workflows, and create a contact-based workflow.
- 2 Set the enrolment trigger to a submission of your enquiry form.
- 3 Add an if/then branch based on the service the person selected.
- 4 In each branch, add a further branch on budget band and timing to separate "ready now" leads from early-stage ones.
- 5 For ready-now leads, use the Rotate record to owner action to assign an owner from the right team, or set a named owner if one person handles that service.
- 6 Set the lifecycle stage and lead status so reports show where the lead is.
- 7 For early-stage leads, enrol them in a helpful nurture email series and assign a lower-priority follow-up task.
- 8 Test the workflow with a few sample submissions before switching it on.
Our HubSpot workflow set-up work and our list of HubSpot automations every website needs cover related automations. If you use a different CRM, or need to connect several tools, an automation platform can do the same job; see our comparison of Zapier, Make and n8n.
A note on data enrichment
Enrichment services can add company size, industry and location to a record using the email domain. This saves research time, but it involves processing personal data from third-party sources. Check that your privacy notice covers it, that you have a lawful basis, and that the provider's terms suit your region. The UK's Information Commissioner's Office has guidance on this, and you should confirm your approach with a lawyer.
Step 3: Notify the owner immediately
An assigned lead only helps if the owner knows about it. Choose the channel your team actually watches.
- Internal notifications. HubSpot workflows can send an internal email or in-app notification to the record owner.
-
Slack or Microsoft Teams. With the relevant integration connected, a workflow can post to a channel such as
#new-leadswith the company name, service, budget band, timing and a link to the record. - A task with a due time. Create a "Call new lead" task so nothing depends on someone noticing a message.
Keep the notification short and include only what the owner needs to decide what to do next. Avoid pasting full message text or personal details into busy shared channels.
Acknowledging the prospect
Send an automatic confirmation email that says what happens next and when. If your customers prefer WhatsApp, a confirmation there can be more effective, but WhatsApp Business requires the person's opt-in before you message them and uses approved message templates. Our guide on connecting WhatsApp to your CRM explains the set-up.
Step 4: Let qualified leads book a call
The most useful change is often on the thank-you page. Instead of "Thanks, we'll be in touch within two working days", show a qualified prospect a calendar so they can pick a time there and then.
- 1 In HubSpot, go to Library and then Meetings scheduler (the location can vary by account), and create a Round robin or group meeting link for the relevant team.
- 2 Connect each team member's calendar so only free slots are shown.
- 3 Set the meeting length, buffer time and how far ahead people can book.
- 4 In the form's settings, choose to show the meeting link after submission, or redirect to a page with the scheduler embedded.
- 5 If only qualified leads should see the calendar, use a separate thank-you page for each outcome, or a form that redirects based on answers.
Other scheduling tools such as Calendly or Chili Piper offer similar routing; pick one that integrates cleanly with your CRM.
Step 5: Measure and adjust
Once the system is running, track a few numbers in your CRM each month:
- Time from form submission to first contact.
- The share of enquiries that book a call, by service and budget band.
- How many leads were routed to the wrong person or marked as poor fit.
Combine these with your website data, for example the GA4 reports worth checking, to see which pages and channels bring the leads that turn into work. Adjust the questions and routing rules as you learn; the first version will not be perfect.
Common mistakes
- Too many questions. Every extra field costs completions. Only ask what changes the routing.
- Rules nobody owns. When the team changes, workflows keep assigning leads to people who have left. Review owners regularly.
- Hiding the calendar from everyone. If the qualification rules are too strict, good prospects never see the booking option.
- No fallback. Make sure leads that match no rule still go to someone.
If you would like help designing the form, workflows and notifications for your own sales process, see our automation and integrations work or get in touch with a short description of how enquiries reach you today.
Planning something similar?
Tell us what you're building and we'll come back with ideas and next steps.