A Webflow SEO set-up checklist for pages and CMS templates.
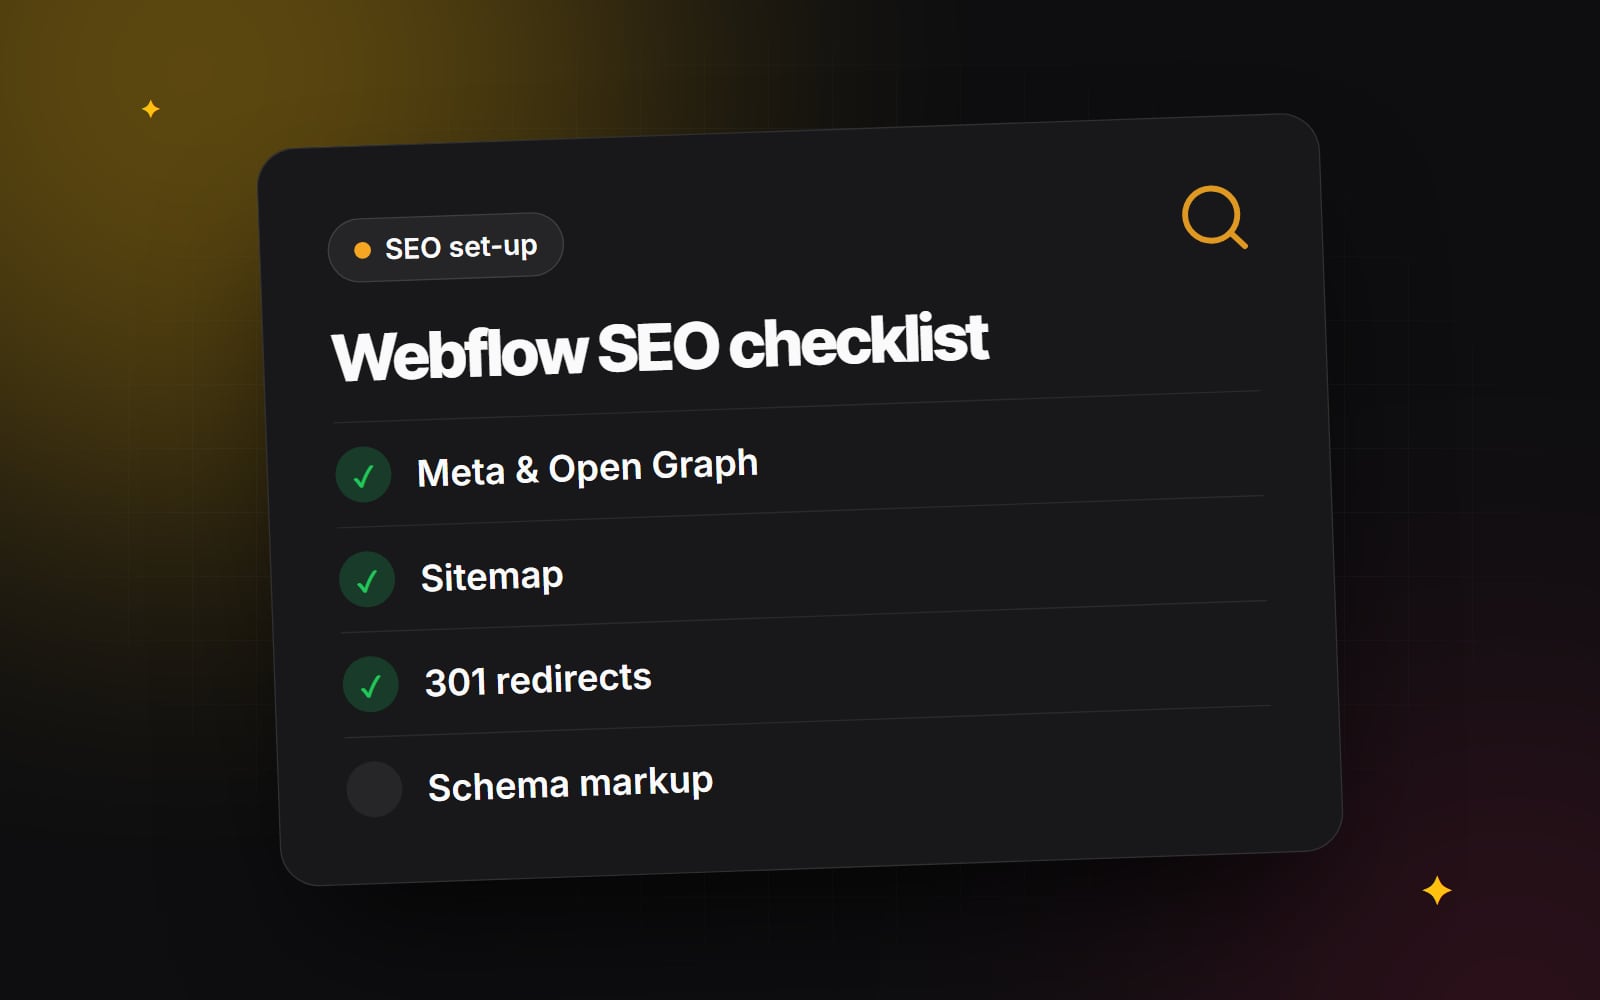
A Webflow SEO checklist: titles, Open Graph, sitemap, 301 redirects, canonical tags, alt text, schema and Search Console.
Webflow gives you most of the controls you need for SEO, but very few of them are filled in for you. Titles, descriptions, Open Graph images, redirects, canonical tags, alt text and structured data all need deliberate set-up, both on static pages and on CMS template pages. This Webflow SEO checklist walks through each setting, where to find it and what to put in it, so the technical basics are in place before you launch or relaunch.
Menu names below match Webflow at the time of writing. Webflow moves settings occasionally, so if a label differs, search for it in Webflow's help centre.
1. Titles and meta descriptions on static pages
Open the Pages panel, hover over a page and click the settings (gear) icon. Under SEO settings you will find Title tag and Meta description.
- Write a unique title for every page that says what the page is about, with your business name at the end if there is room.
- Write a meta description that summarises the page honestly in a sentence or two. Google may not always use it, but a clear one helps when it does.
- Do not leave titles as the default page name, such as "Home" or "About".
2. Titles and descriptions on CMS templates
CMS template pages, such as blog posts or case studies, have one settings panel that applies to every item. Rather than typing text, you insert CMS fields using the + Add field option in the title and description boxes.
- Use the item's name field for the title, followed by a fixed suffix such as your blog or business name.
- Create a dedicated summary or meta description field in the collection and use that for the description, rather than relying on the first lines of the body.
- Check a few published items to confirm the result reads naturally.
3. Open Graph settings
Open Graph tags control how pages look when shared on social platforms and in messaging apps. In page settings, the Open Graph settings section lets you set a title, description and image, or reuse the SEO title and description.
- Give every important static page an Open Graph image, sized for wide social previews.
- On CMS templates, bind the Open Graph image to an image field, such as the main or cover image.
- Test a few URLs by pasting them into a message to yourself or using each platform's preview tool.
4. Sitemap and indexing
Go to Site settings and open the SEO tab.
-
Turn on the option to auto-generate a sitemap. Webflow then keeps
/sitemap.xmlup to date as you publish. -
Check the indexing setting for the
webflow.iostaging subdomain, so the staging copy is not indexed alongside your real domain. - Review the robots.txt box. Leave it empty or minimal unless you have a specific reason to block a section, and never block the whole site by mistake after launch.
- For pages that should not appear in search, such as thank-you pages, use the page-level sitemap and indexing options or a noindex meta tag in that page's custom code.
5. Default domain and canonical tags
In Site settings, under the publishing or hosting section, set your default domain (for example the www or non-www version). Webflow redirects the other version to it, so search engines see one address for each page.
Then, in the SEO tab, set the Global canonical tag URL to your full default domain, including https://. This tells search engines which version of each page is the main one. Webflow also allows a canonical URL to be set on individual pages where you need a different one, for example when the same content exists at two addresses. Our technical SEO audit checklist explains canonicals in more depth.
6. 301 redirects
Whenever a URL changes, whether from a migration, a renamed page or a changed CMS slug, add a 301 redirect from the old address to the new one. In Webflow these are managed in Site settings, in the 301 redirects section of the publishing (previously hosting) tab.
- 1 Export a list of every URL on your old site, from its sitemap or a crawl.
- 2 Match each old URL to the most relevant new page.
- 3 Add each pair in the 301 redirects section, using the old path and the new path.
- 4 Use Webflow's wildcard pattern support for whole sections that moved, such as an old blog folder, after checking the current syntax in Webflow's help docs.
- 5 Publish and test a sample of old URLs in a browser.
- 6 Avoid chains, where one redirect points to another redirect.
If you are moving an existing site to Webflow, our guide to redesigning without losing rankings covers the full process.
7. Headings and page structure
- Use one H1 per page that describes the page's topic.
- Use H2s and H3s in order to structure sections. In Webflow, set the tag in the heading element's settings, not just by making text look bigger.
- Check rich text fields in CMS items: editors should use headings from the rich text toolbar rather than bold paragraphs.
8. Alt text for images
Alt text helps people using screen readers and helps search engines understand images. In Webflow you can set alt text on each asset in the Assets panel, which then applies wherever that asset is used, or override it on an individual image element in its settings.
- Describe what the image shows and why it matters on the page.
- Mark purely decorative images as decorative so screen readers skip them.
- For CMS images, add an alt text field to the collection where needed and bind the image's alt text to it, so editors can describe each image.
9. Structured data through custom code
Webflow does not generate schema markup for you, so structured data is added as JSON-LD in custom code. In page settings, use the Custom code section and paste a script into the Inside <head> tag box.
-
On the home page or site-wide, add
OrganizationorLocalBusinessmarkup with your real business details. -
On CMS templates, add
ArticleorBlogPostingmarkup and insert CMS fields for the headline, date, author and image using the field picker in the custom code box. - Only mark up information that is visible on the page.
- Test each template with Google's Rich Results Test and the Schema Markup Validator.
A simple example for a blog template might look like this, with the placeholder values replaced by CMS fields:
<script type="application/ld+json">
{
  "@context": "https://schema.org",
  "@type": "BlogPosting",
  "headline": "Post title field",
  "datePublished": "Publish date field",
  "author": { "@type": "Person", "name": "Author name field" },
  "image": "Main image field"
}
</script>
Our guide to schema markup explains which types are still worth adding.
10. Google Search Console
- 1 Add your domain as a property in Google Search Console.
- 2 Verify ownership, either with a DNS record at your domain provider or by pasting the verification code into the Google site verification field in Webflow's SEO settings.
- 3 Publish the site so the verification takes effect.
-
4
Submit your sitemap URL,
https://yourdomain.com/sitemap.xml, under Sitemaps. - 5 Check the Pages report over time for pages that are not indexed and the reasons given.
Google's SEO Starter Guide is a useful official companion to these steps.
11. Speed and mobile
Search engines consider page experience, and slow pages frustrate visitors anyway. In Webflow, keep image sizes sensible, use modern formats where possible, limit heavy interactions and third-party scripts, and check key pages with PageSpeed Insights on mobile.
12. Multiple languages
If you use Webflow Localization, check that each locale has translated titles, descriptions and slugs, and that the locale URLs and hreflang tags look correct in the published source. Check your plan's localisation options before you build.
Webflow SEO settings at a glance
| Setting | Where in Webflow | Applies to |
|---|---|---|
| Title and meta description | Page settings, SEO settings | Each page and CMS template |
| Open Graph | Page settings, Open Graph settings | Each page and CMS template |
| Sitemap, robots.txt, canonical | Site settings, SEO tab | Whole site |
| Default domain, 301 redirects | Site settings, publishing section | Whole site |
| Alt text | Assets panel or image settings | Each image |
| Structured data | Page settings, Custom code | Each page and CMS template |
Web Canvas sets up Webflow SEO foundations as part of our web development work. If you would like someone to check your Webflow settings before launch, get in touch.
Planning something similar?
Tell us what you're building and we'll come back with ideas and next steps.