Automated website testing: end-to-end, visual and link checks.
Which automated tests protect a business website, with a Playwright example and how to run tests on every pull request.
Most website bugs that reach customers are not exotic. A CSS change hides a button on small screens, a package update breaks a form, or a URL change leaves old links pointing at a 404 page. Everything looked fine on the developer's screen, and nobody clicked through the whole site before release.
Manual checking still has a place, but it is slow and easy to skip when a deadline is close. A small set of automated tests that run on every change catches the most damaging problems before they go live. This guide covers the three kinds of test that give the most value for a typical business website, and how to run them automatically.
1. End-to-end tests for key journeys
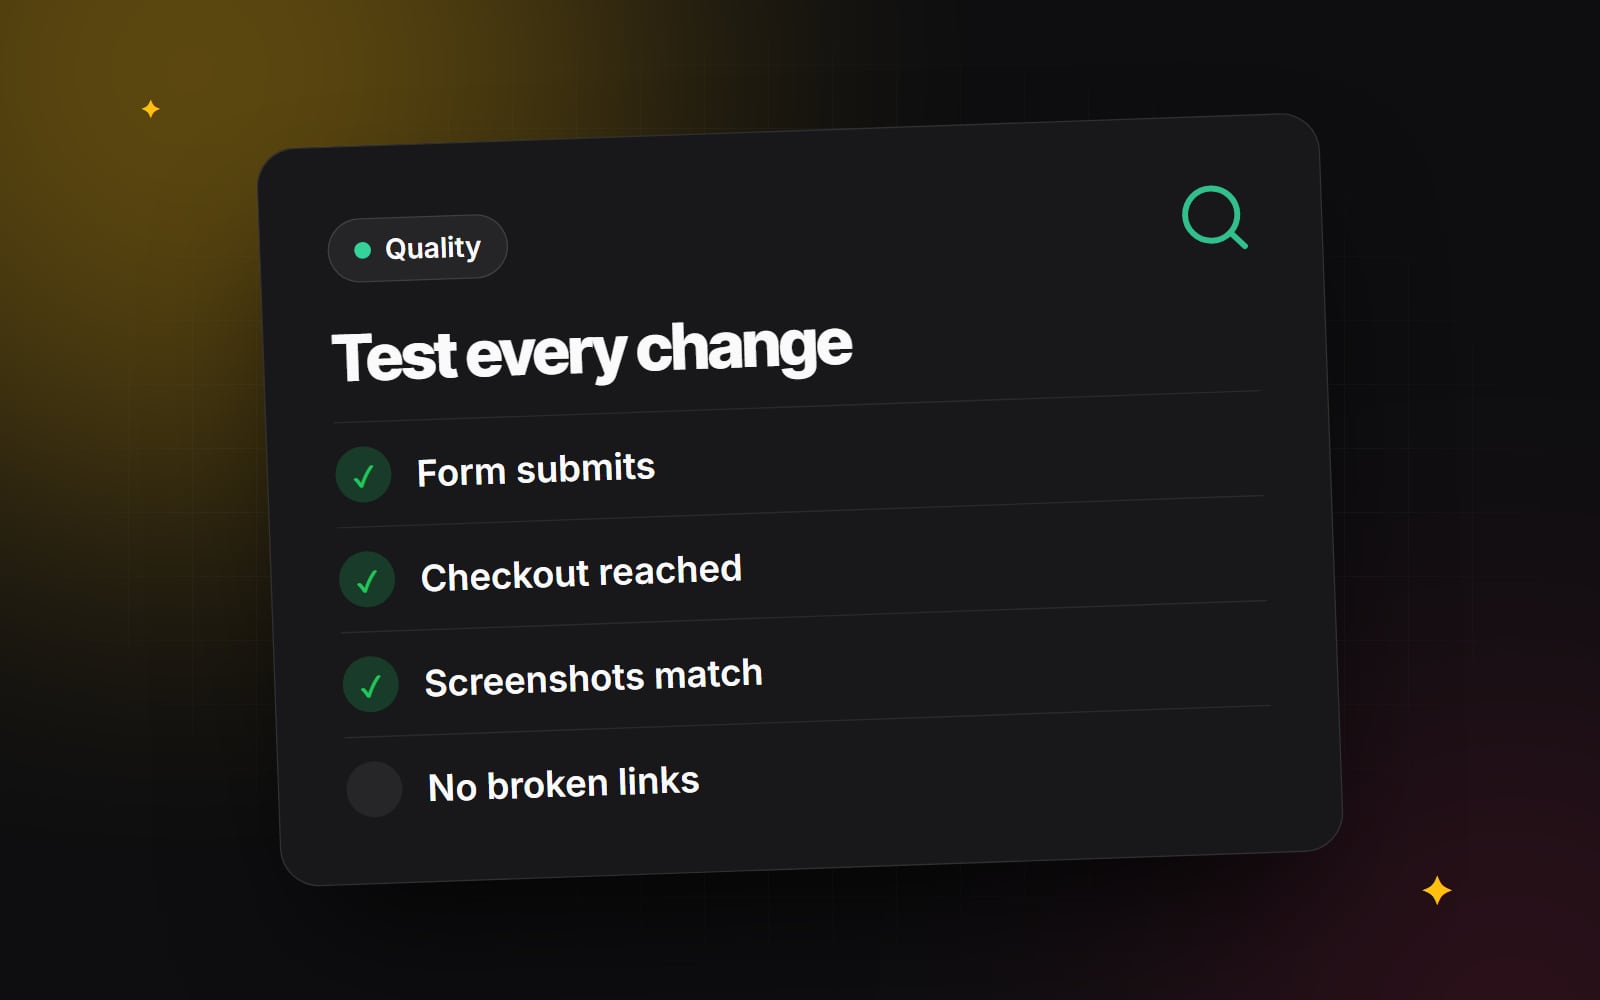
Unit tests check that a piece of code works on its own. End-to-end (E2E) tests check that a visitor can complete a task in a real browser. Tools such as Playwright and Cypress drive a browser through your site, clicking and typing like a person, and fail if something does not happen as expected. Playwright can run the same tests in Chromium, Firefox and WebKit (the engine behind Safari), which helps catch browser-specific problems.
Good candidates for E2E tests:
- Enquiry and contact forms. Submit an empty form and check the error messages appear; submit valid data and check the confirmation appears. If the form sends leads to HubSpot or another CRM, use a test inbox or test portal so test submissions do not pollute real data.
- Shop journeys. Add a product to the cart, change the quantity, apply a test discount code and reach the checkout. Use your platform's test or sandbox payment mode, never real cards. Our article on checkout friction lists the steps most worth protecting.
- Log-in and account pages, if your site has them, using a dedicated test account.
- Navigation on mobile. Set a phone-sized viewport and check the menu opens and its links work.
A minimal Playwright test for a contact form looks like this. The labels and messages should match the ones on your own site:
// tests/contact.spec.ts
import { test, expect } from '@playwright/test';

test('contact form validates and submits', async ({ page }) => {
  await page.goto('/contact/');

  await page.getByRole('button', { name: 'Send' }).click();
  await expect(page.getByText('Please enter your email')).toBeVisible();

  await page.getByLabel('Name').fill('Test User');
  await page.getByLabel('Email').fill('test@example.com');
  await page.getByLabel('Message').fill('Automated test - please ignore');
  await page.getByRole('button', { name: 'Send' }).click();

  await expect(page.getByText('Thanks')).toBeVisible();
});
Finding elements by role and label (as above) rather than by CSS class keeps tests working when the styling changes, and it also nudges you towards accessible markup.
2. Visual regression tests
A functional test passes as long as a button exists and can be clicked. It will not notice that the button is now white on white, or that an image overlaps the pricing table. Visual regression testing fills that gap.
- 1 The tool takes screenshots of chosen pages or components at set screen sizes and stores them as the approved baseline.
- 2 On each change, it takes new screenshots and compares them with the baseline.
- 3 If the difference is above a tolerance you set, the test fails and shows the changed areas.
- 4 A person reviews the difference and either fixes the bug or approves the new screenshot as the baseline.
Playwright has this built in with await expect(page).toHaveScreenshot();. Hosted services such as Percy and Chromatic add review screens and history. Two practical tips: hide or freeze content that changes on every load (carousels, dates, animations), and keep baselines for the same operating system your tests run on, because fonts render slightly differently across systems.
Visual tests are especially useful when you change shared components in a design system, where one edit can affect pages you did not think to check.
3. Broken link checks
Broken internal links frustrate visitors and waste the attention search engines give your site. They often appear after a redesign or a URL change. A link checker crawls your pages and reports links that return errors.
- Run it against your preview or staging site on each change, failing the build on broken internal links.
- Run it on a schedule against the live site to catch external links that have died.
- After changing URLs, check that every old URL redirects to the right new page, as described in our guide to redesigning without losing rankings.
Open-source command-line checkers such as linkinator and lychee work well in CI, and SEO crawlers can do the same job for larger audits.
Running tests automatically on every pull request
Tests only help if they run every time, not when someone remembers. If your code is on GitHub, GitHub Actions can run them for each pull request.
-
1
In your project, run
npm init playwright@latestand accept the option to add a GitHub Actions workflow. -
2
In
playwright.config.ts, setuse.baseURLto the address your tests should run against, or use thewebServeroption to start your site locally during the run. - 3 Commit the tests and the workflow file, then open a pull request to see them run.
- 4 In your repository settings, open Rules (or Branches), add a rule for your main branch, and require the test check to pass before merging.
- 5 When a test fails, download the report from the run's artifacts and open the trace to see exactly what the browser did.
A trimmed version of the workflow looks like this:
name: Playwright tests
on: pull_request
jobs:
  test:
    runs-on: ubuntu-latest
    steps:
      - uses: actions/checkout@v4
      - uses: actions/setup-node@v4
        with:
          node-version: lts/*
      - run: npm ci
      - run: npx playwright install --with-deps
      - run: npx playwright test
      - uses: actions/upload-artifact@v4
        if: ${{ !cancelled() }}
        with:
          name: playwright-report
          path: playwright-report/
Action versions move on over time, so compare with the file the Playwright installer generates and the Playwright CI guide.
Scheduled checks on the live site
Some problems come from outside your code: a payment provider has an outage or a third-party script changes. Running a small set of read-only checks against the live site on a schedule (for example, page loads, form renders, cart opens) catches these. Do not submit real forms or orders on production unless the system is set up to recognise and discard test data.
What to test first
- 1 List the three to five journeys that would cost you most if they broke for a day.
- 2 Write one E2E test for each, covering the happy path only.
- 3 Add screenshot tests for the home page and your main landing and product templates at a phone and a desktop width.
- 4 Add a broken-link check.
- 5 Require all of them to pass before merging, then add tests whenever a bug slips through, so it cannot happen twice.
Keep the suite small and reliable. A few tests that always run and rarely give false alarms are worth more than a large suite people learn to ignore. Testing also sits naturally alongside other ongoing work in a maintenance retainer.
If you would like help setting up automated checks for your site, our web development page explains how we work, or you can get in touch and tell us which journeys matter most.
Planning something similar?
Tell us what you're building and we'll come back with ideas and next steps.