Moving from WordPress to HubSpot CMS: a migration plan.
A step-by-step plan for moving from WordPress to HubSpot CMS: content inventory, blog import, forms, redirects, SEO checks and a launch checklist.
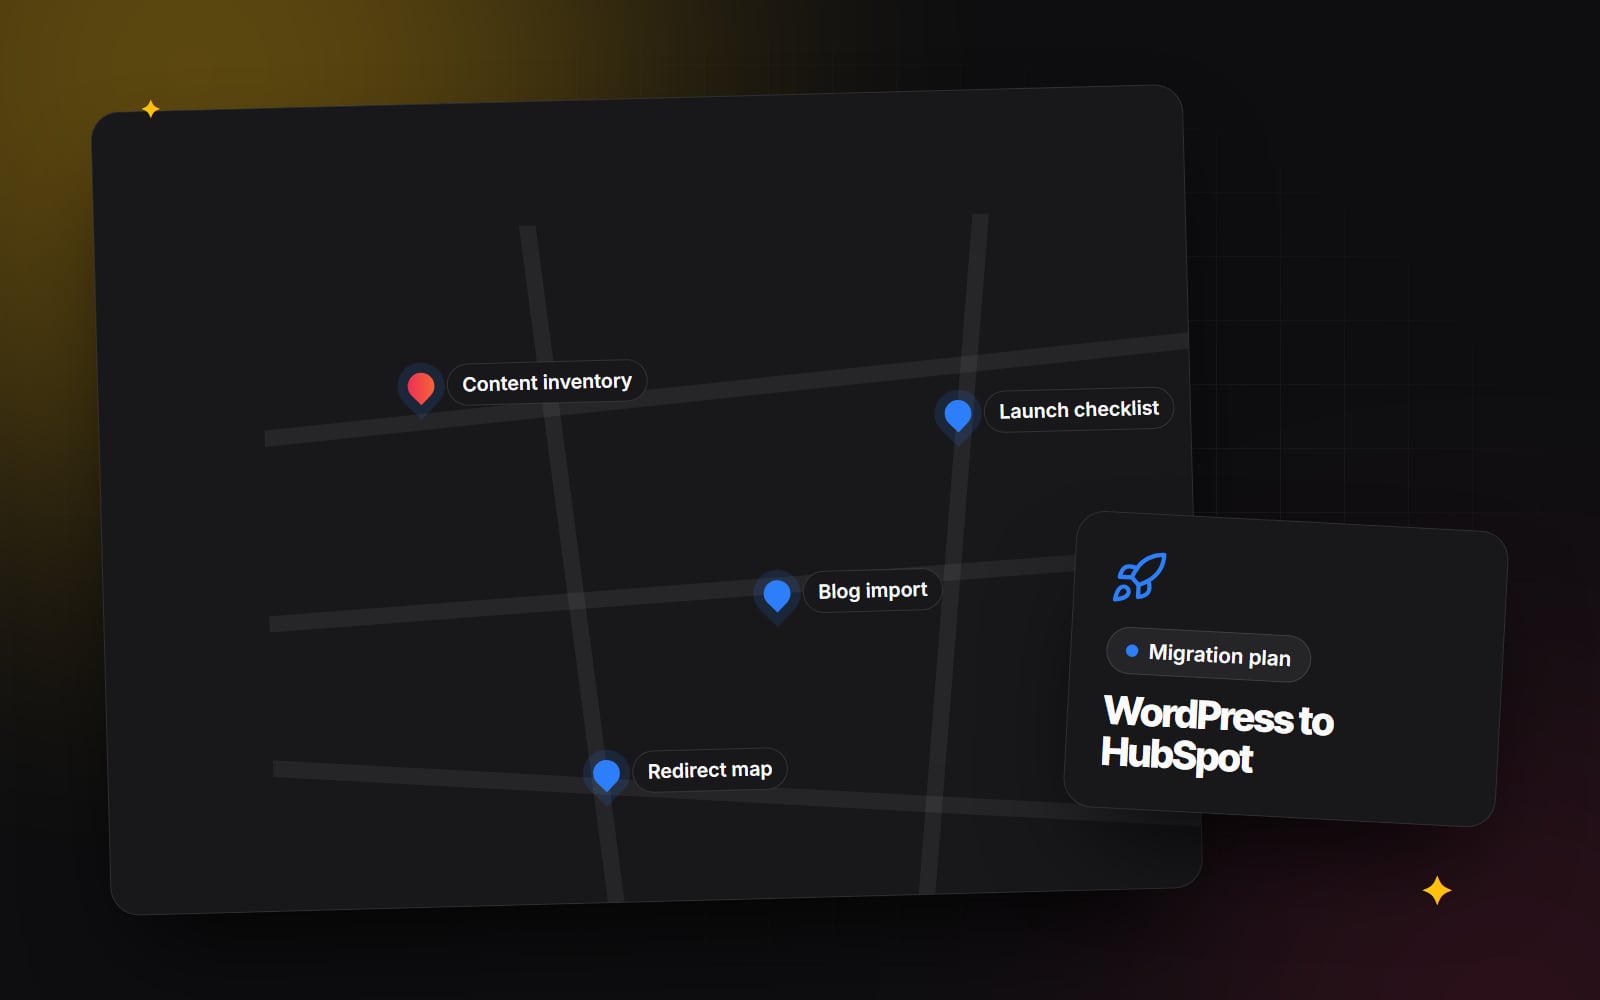
Moving from WordPress to HubSpot CMS is usually driven by a wish to bring the website and CRM together: forms that write straight into contact records, personalised content, and marketing reports in one place. The move itself is manageable, but it has a lot of small parts. This migration plan lays out what to do, in what order, and what to check before you switch the domain.
If you are still deciding whether to move, our comparison of HubSpot CMS and WordPress for B2B websites covers the trade-offs.
Step 1: Build a content inventory
Start with a complete list of what exists today. Export URLs from your XML sitemap, a crawl of the site, and Google Search Console's page indexing report, then combine them in a spreadsheet. For each URL, record:
- content type: page, post, category, tag, author archive, media file, custom post type;
- whether it gets search traffic or backlinks;
- whether it contains a form, embed, shortcode or plugin-driven feature;
- a decision: keep, merge, rewrite or drop;
- the new URL on HubSpot.
This spreadsheet becomes your redirect map and your QA list later, so it is worth getting right. Our website audit guide has more on deciding what to keep.
Step 2: List the WordPress features you rely on
WordPress sites often depend on plugins that do quiet but important work. Go through your active plugins and note what each one provides: SEO fields, forms, caching, redirects, related posts, galleries, multilingual content, event listings, search. For each one, decide how it will be handled in HubSpot: a built-in feature, a custom module, HubDB, a marketplace app, or not at all.
Custom post types need special attention. Team members, case studies or locations stored as custom post types in WordPress can often become HubDB tables with dynamic pages, or a separate HubSpot blog, depending on how they are used.
Step 3: Build the HubSpot theme
You cannot move a WordPress theme to HubSpot. The templates need to be rebuilt in HubL as a HubSpot theme, with modules for each type of section. This is a good moment to tidy up: design reusable components, set up theme settings for brand colours and fonts, and make sure blog listing and post templates are part of the theme. Build it in a test portal or sandbox if you have one, so the live site is unaffected while you work.
Step 4: Import the blog
HubSpot has a blog import tool that can bring in posts from an existing blog, including WordPress, using the blog's URL or an export file. Check the current steps in HubSpot's knowledge base, since the import options are updated from time to time. After importing:
- check that authors, publish dates and tags came across correctly;
- check that images are hosted in HubSpot's file manager, not still loading from the old WordPress server;
- look for leftover shortcodes, plugin markup and inline styles in post bodies;
- check that internal links inside posts point to the new URLs;
- review meta titles and descriptions, which may not import from SEO plugins.
Pages, unlike blog posts, usually need to be rebuilt in the page editor with the new modules. For a large site, plan who will rebuild which pages and how they will be checked.
Step 5: Rebuild forms and connect them to the CRM
Forms are often the reason for the move, and they are also the easiest thing to miss. List every form on the old site: contact, quote request, newsletter sign-up, downloads, event registration. For each one, create a HubSpot form, map each field to a contact or company property, set notifications and follow-up emails, and decide what happens next, such as list membership or a workflow. Make sure consent and privacy wording is reviewed by whoever is responsible for compliance in your business. Our guide to form design that people actually finish is a useful check on field count and layout.
Step 6: Map and upload redirects
Every old URL that has traffic, links or bookmarks should redirect to the closest matching new URL with a permanent (301) redirect. WordPress URL patterns often change in a move, for example from /2024/05/post-name/ or /category/news/ to a HubSpot blog path.
In HubSpot, redirects are managed in Settings under Domains & URLs, on the URL Redirects tab. You can add them one by one, import them in bulk from a CSV file, or use flexible pattern redirects for URL structures that follow a rule. Test a sample of each pattern before launch. The guide to redesigning without losing rankings explains why redirects matter so much for search.
Step 7: Protect SEO
- Carry over meta titles, descriptions and headings for pages that rank.
- Set canonical URLs and make sure staging pages are not indexed.
- Recreate structured data that the old site produced through plugins.
- Check image alt text survived the move.
- Submit the new sitemap in Google Search Console after launch.
- Watch the page indexing report and fix any spike in "not found" errors.
Our technical SEO audit checklist covers indexing, canonicals and redirects in more depth.
What usually goes wrong
| Problem | Typical cause | Prevention |
|---|---|---|
| Broken links from search results | Redirects missing for old URL patterns | Redirect map built from a full crawl and Search Console data |
| Leads stop arriving | A form was not rebuilt, or notifications were not set | Form inventory and test submissions before launch |
| Images missing in posts | Images still pointing to the old server | Check image URLs after import, before the old host is closed |
| Odd text in blog posts | Leftover shortcodes and plugin markup | Search imported posts for square brackets and clean up |
| Tracking gaps | Analytics or consent scripts not added | Add tracking and consent tools to the theme and test them |
Launch checklist
- 1 Freeze content changes on the WordPress site.
- 2 Run a final blog import or copy any posts published since the first import.
- 3 Upload the full redirect list in HubSpot.
- 4 Submit a test entry through every form and confirm it reaches the CRM.
- 5 Check analytics, the HubSpot tracking code and consent banner on key pages.
- 6 Connect your domain in HubSpot and update DNS records as HubSpot instructs.
- 7 Confirm SSL is active on the new domain.
- 8 Test a sample of old URLs and confirm each redirects correctly.
- 9 Submit the new sitemap in Google Search Console.
- 10 Keep a full backup of the WordPress site and database before closing the old hosting.
- 11 Monitor search coverage, form submissions and 404 errors over the following period.
Web Canvas carries out HubSpot migrations, including theme builds and redirect planning, as part of our web development service. If you are planning a move from WordPress and want help with the plan, get in touch.
Planning something similar?
Tell us what you're building and we'll come back with ideas and next steps.